Customized Miniature Display - 8 x 9" - FREE SHIPPING
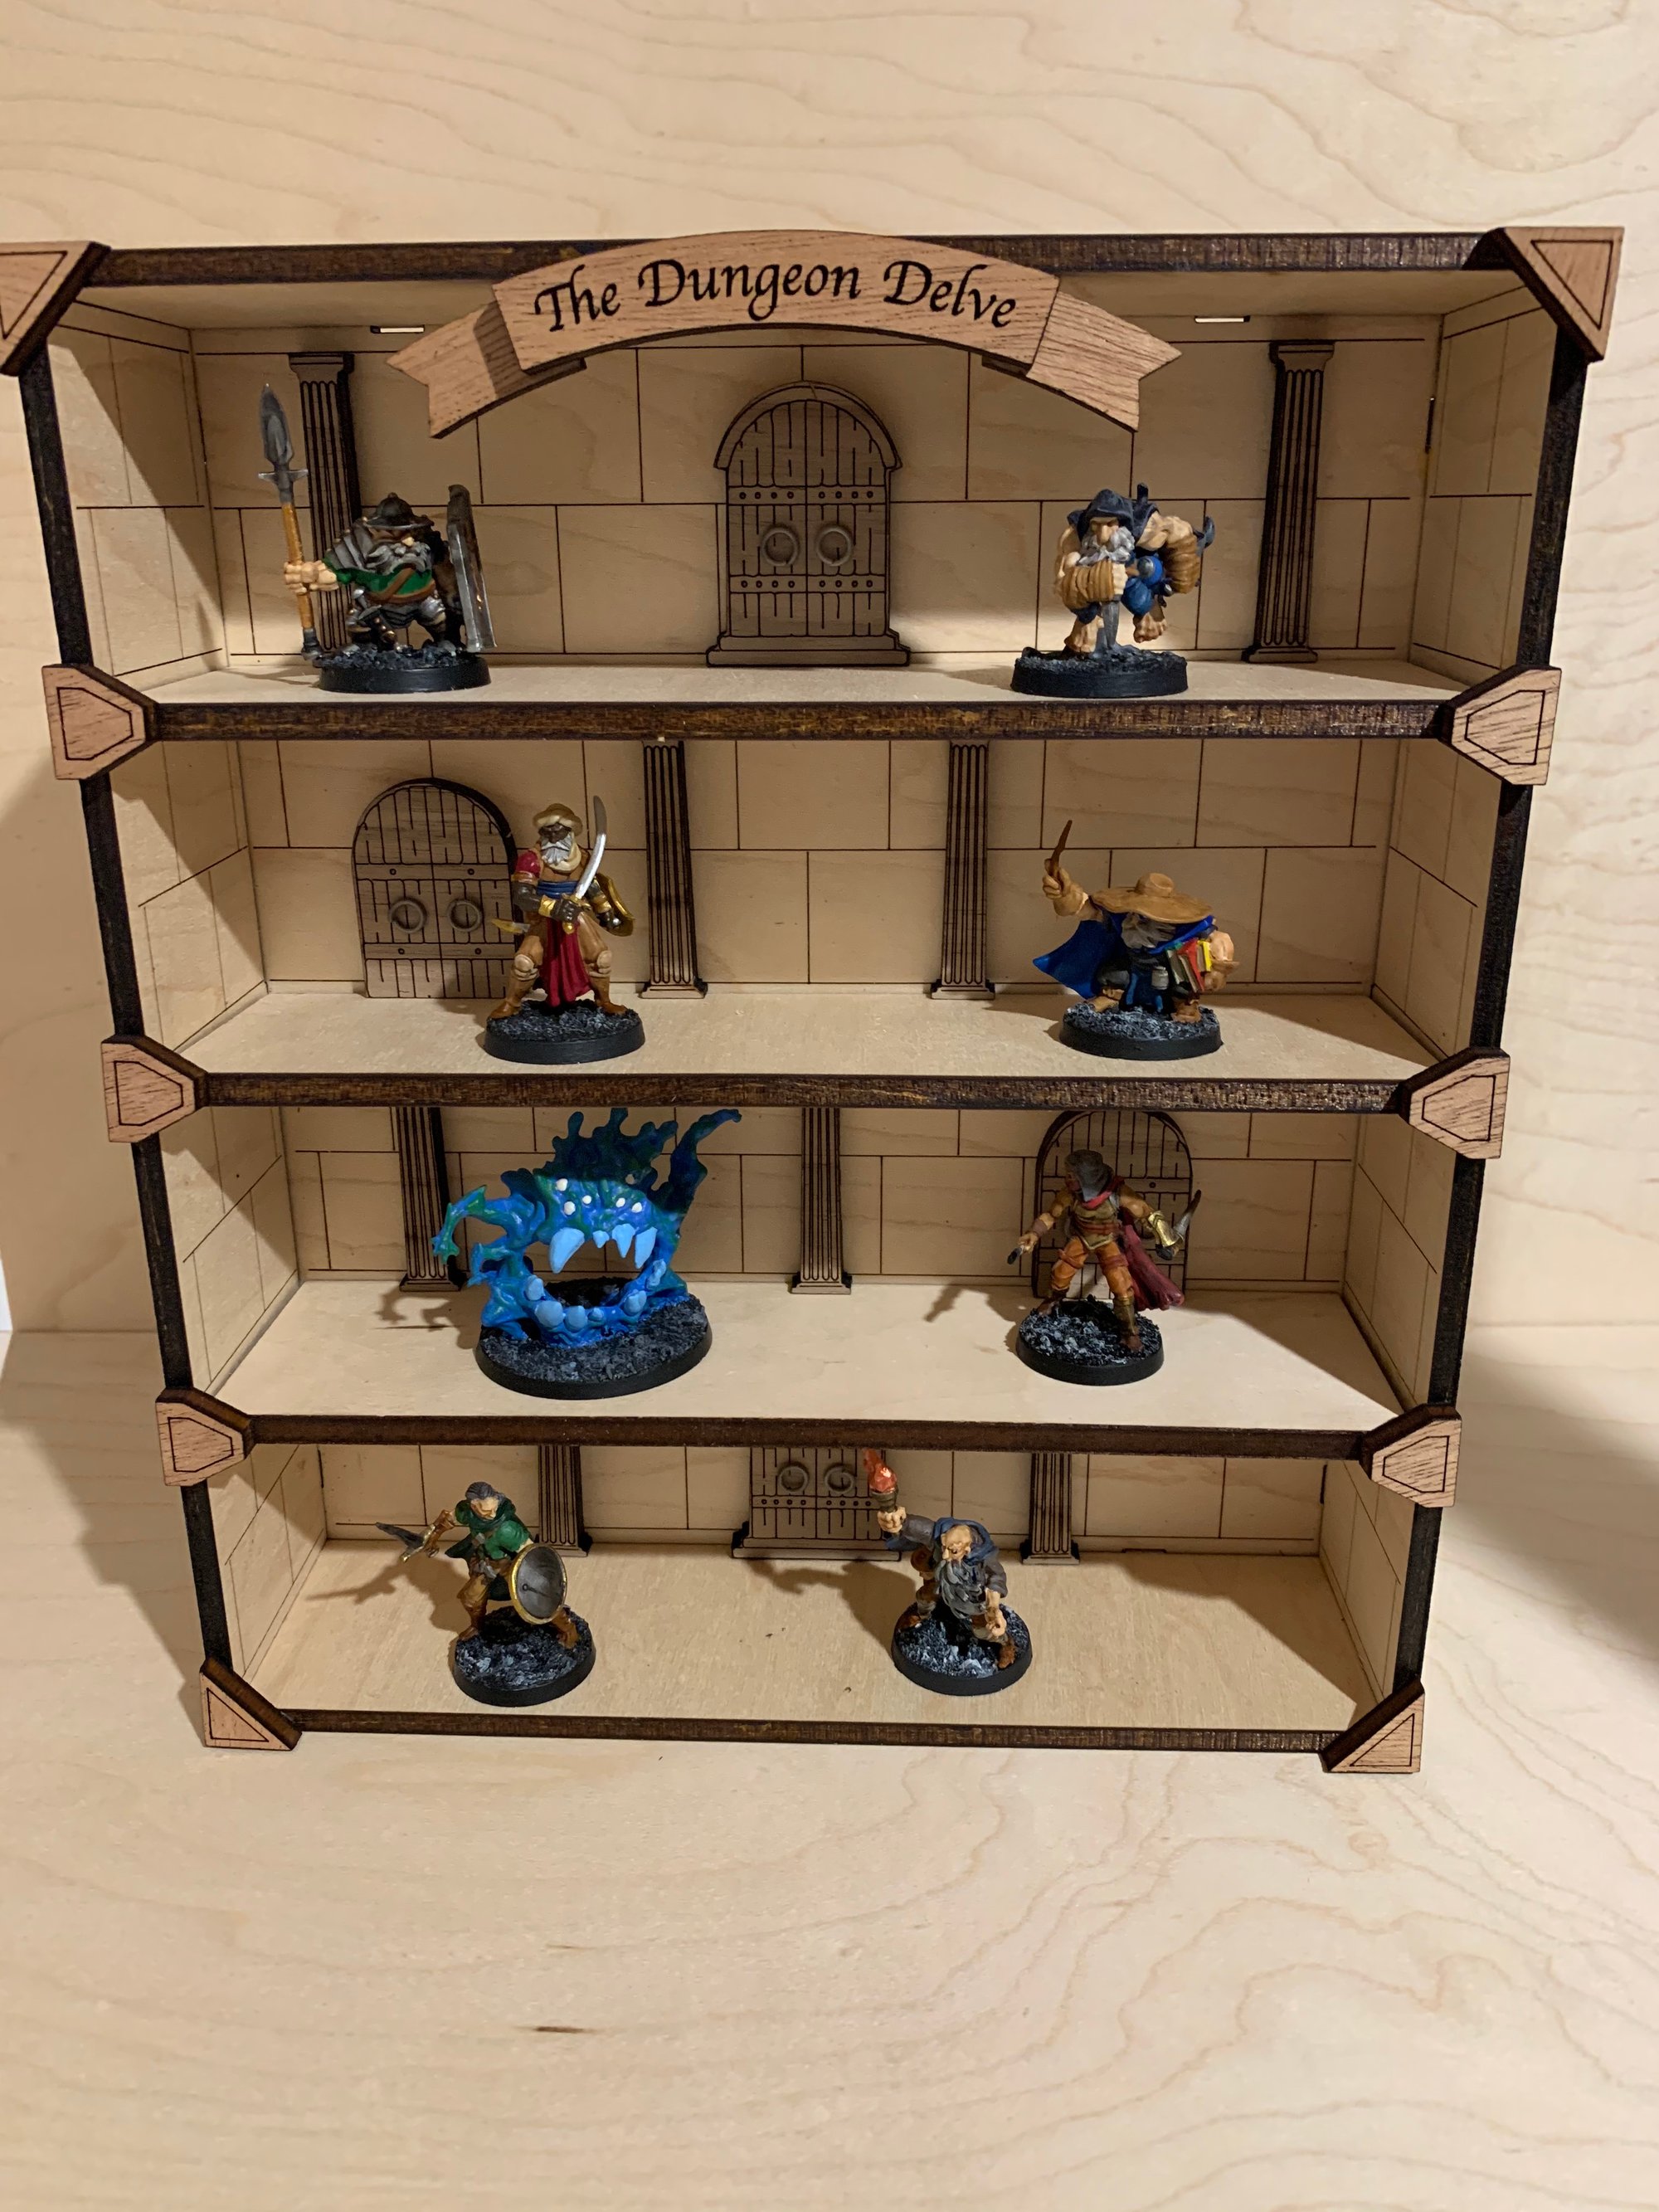
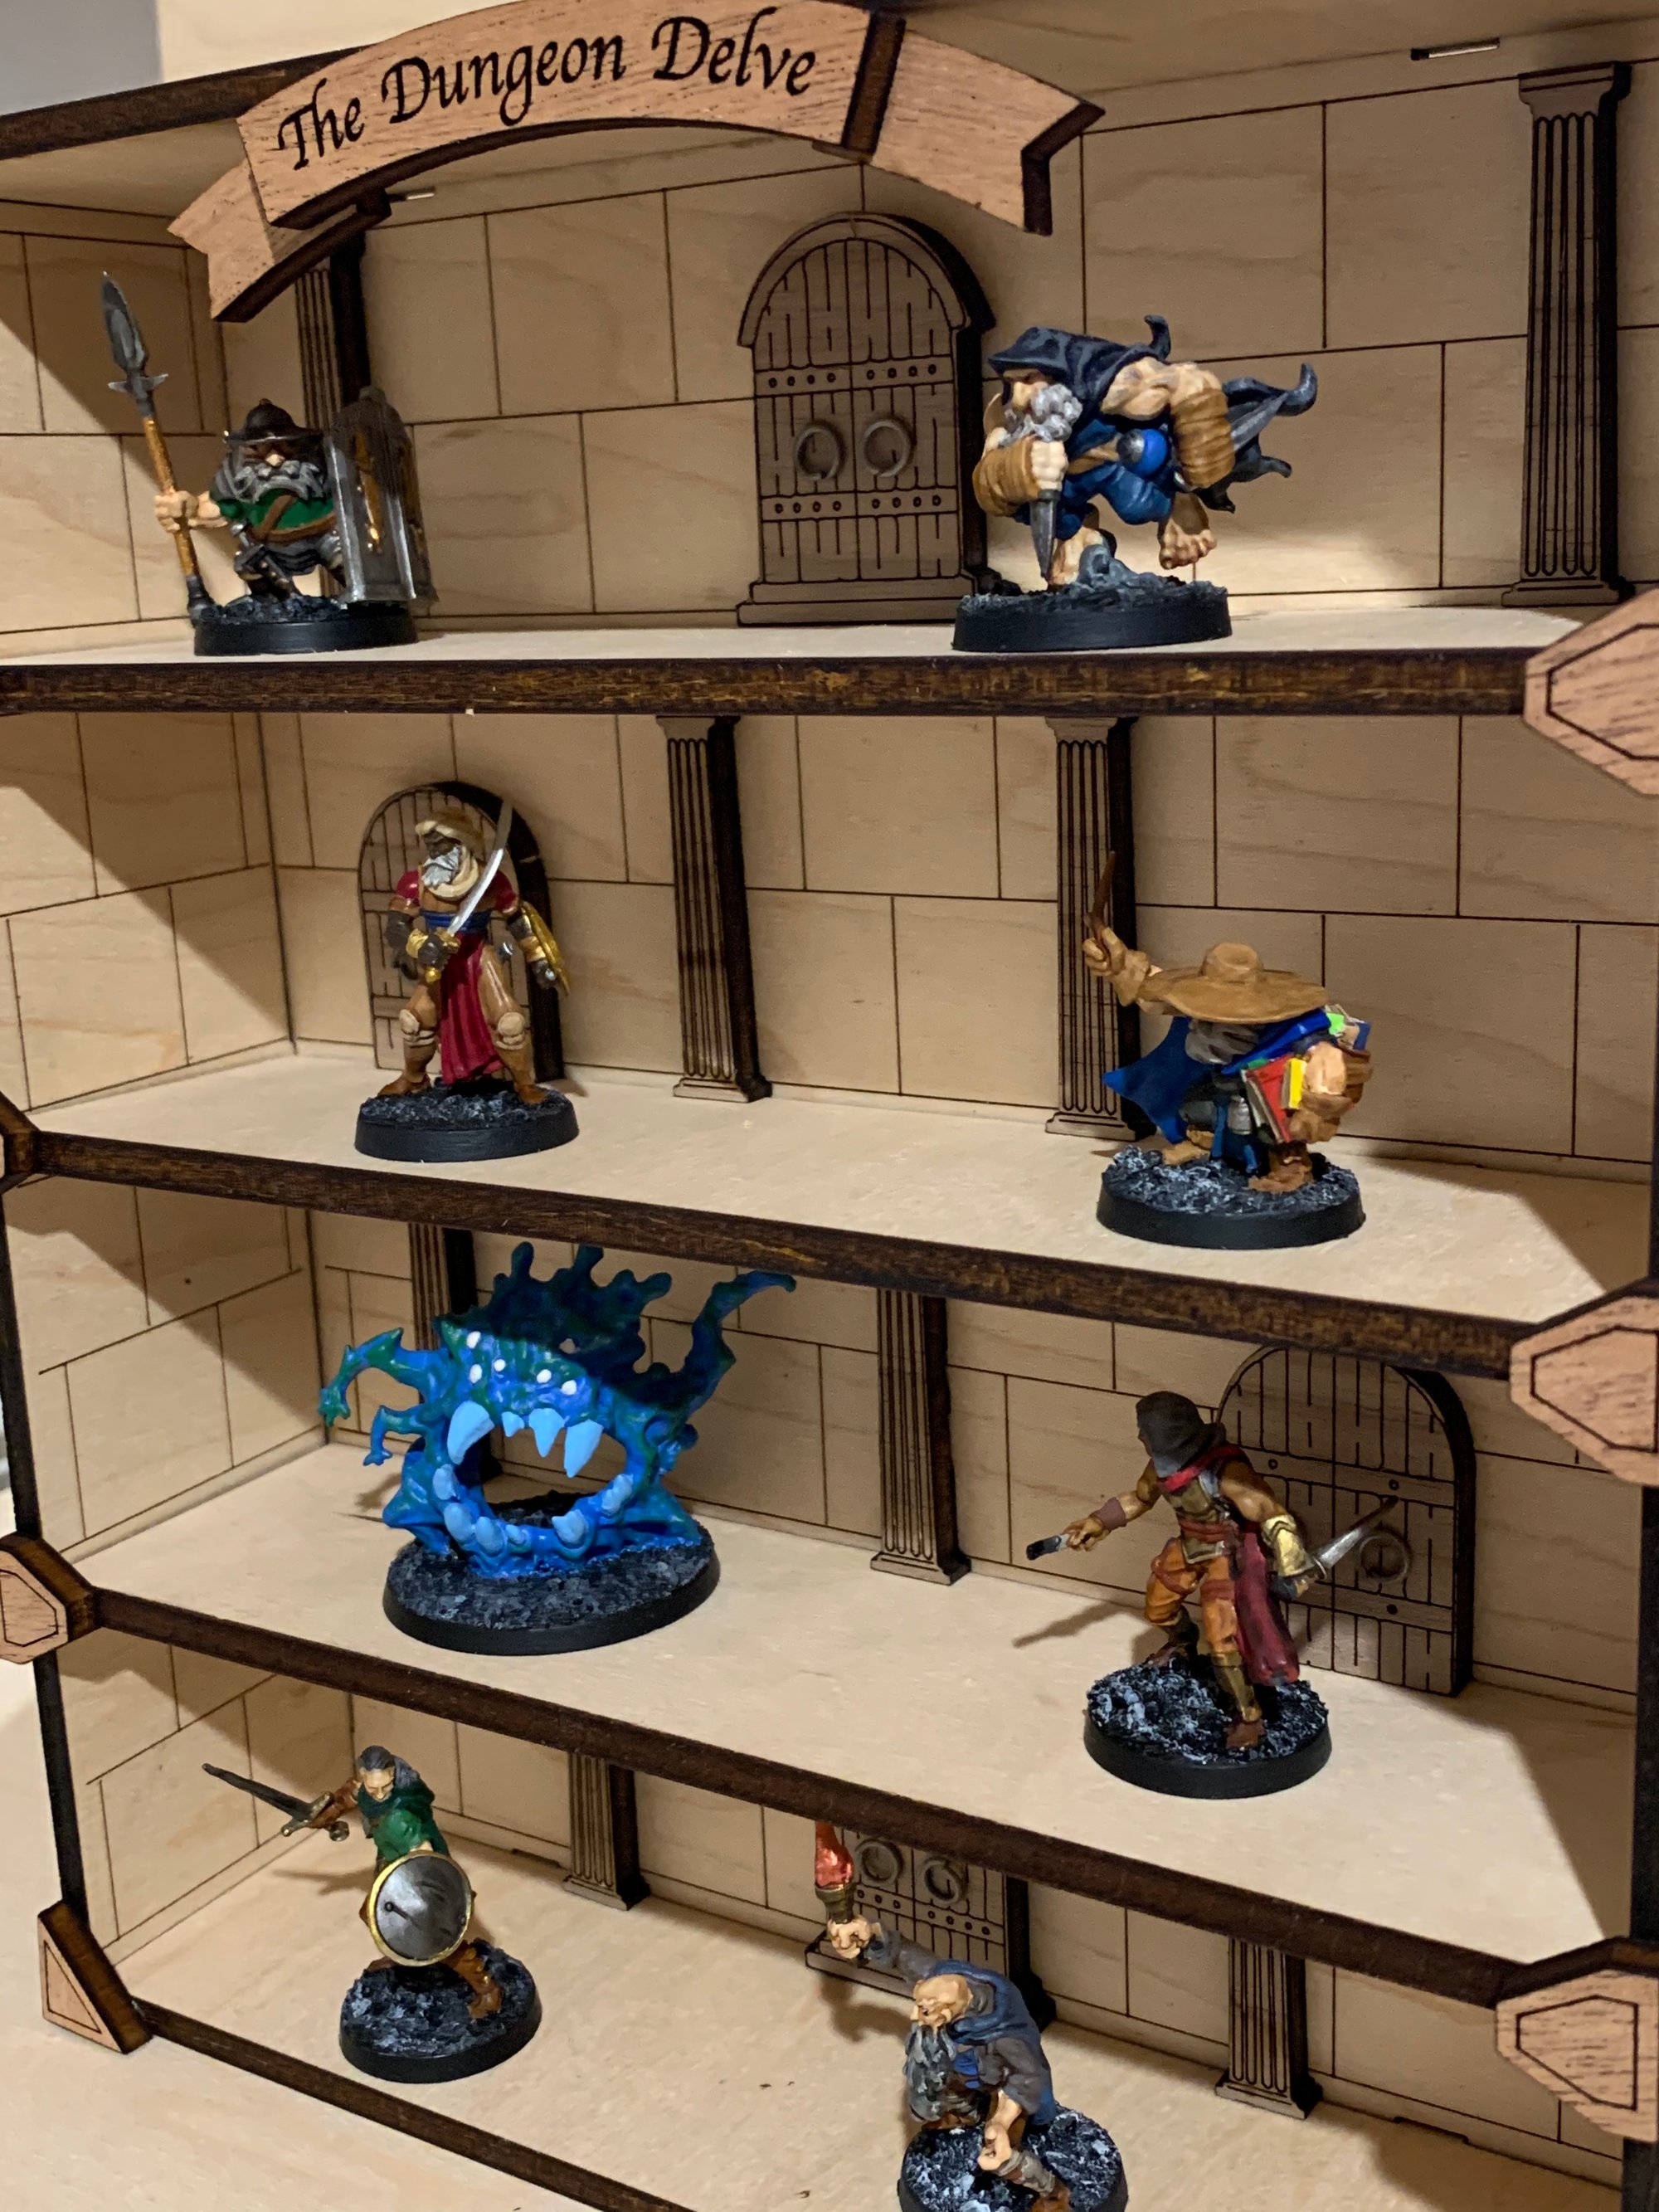
This Miniature Display case is made from laser-cut maple plywood (1/4" thick) with a laser-cut personalized banner and adornments laser-cut from maple and door and columns cut from walnut. The display comes unassembled.
Email your name or message for the banner in the NOTES section during checkout.
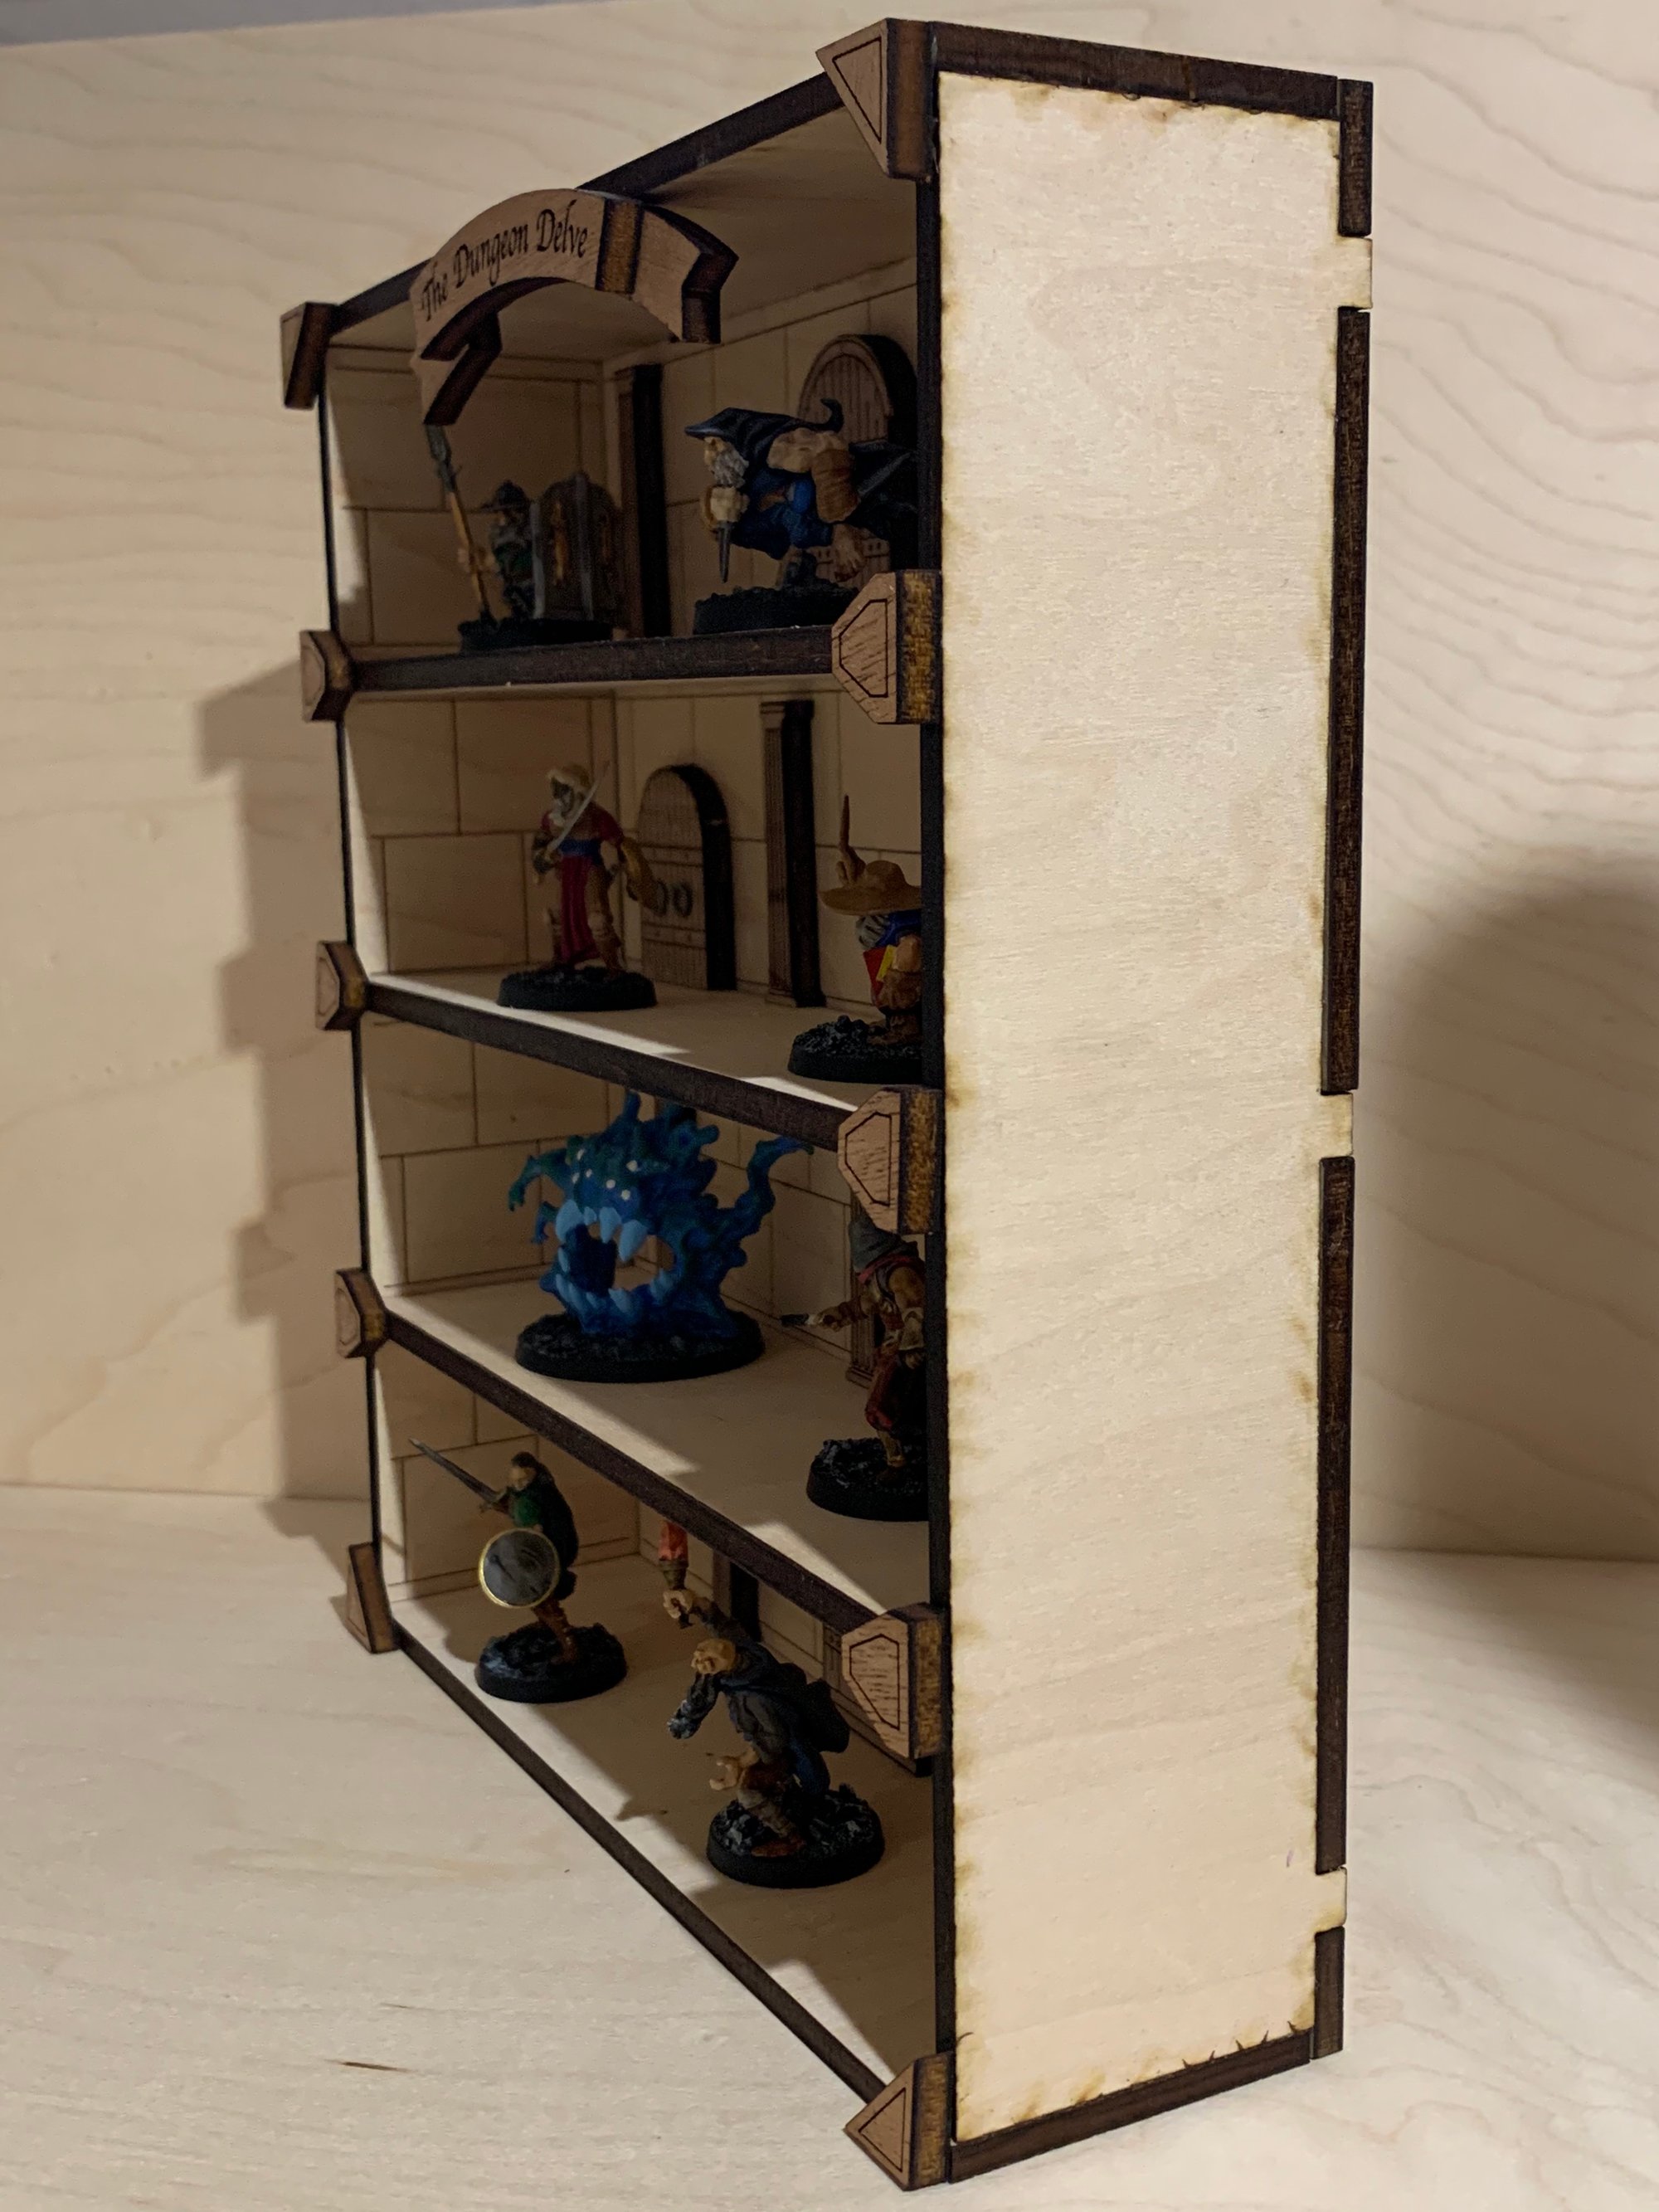
The dimensions are 9" tall by 8" wide and the display consists of four levels that are 1.75" tall and 7.5" wide, more than enough to hold up to 24+ 28-32mm miniatures with bases. Each of the four floors in the display is 2" deep, and the case will not tip over easily on a desk.
The display comes with the following accessories and FREE SHIPPING:
* 10x Wood Adornments - laser-cut mahogany (4x corner pieces, 6x middle row edges)
* 1x Banner - laser-cut mahogany with YOUR MESSAGE engraved (it is glued to top front edge as shown in photos)
* 4x Doors - laser-cut walnut
* 8x Columns - laser-cut walnut
Please Note: This display does not come with miniatures. The 28mm miniatures in the photo are provided for scale. The display is also light enough to be attached to a wall with two 3M Command Strips while holding up to 24 miniatures.
ASSEMBLY INSTRUCTIONS:
The Miniature Display can be assembled with glue and the notched edges provide a sturdy structure. Wood glue is recommended, but PVA or CA (super glue) will also work.
1. Place backing board on table with stone cuttings facing up.
2. Find three center shelves (these do not have stone cuttings on them - you'll have two left over for the top and bottom sides) and glue them in; run a bead of glue along one long edge and place that down on the backing board so the pegs go into the slots.
3. After all three shelves have been glued in, place the side pieces (left and right) into place so the stone work is facing inwards - DO NOT GLUE THESE TWO PIECES IN YET. This is to make sure the shelves and the glue dries correctly so the shelves line up with the left and right pieces.
4. Once shelves and glue are dried, glue in left and right sides so pegs line up with all holes. Glue in top and bottom edges as well.